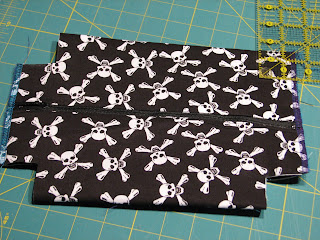
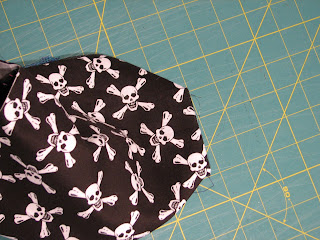
She makes it so easy. I've done a few small things to simplify the sewing.

Rather than sewing the fabrics to the second side of the zipper in the same order, I sew them one at a time.
First, fold back one of your fabrics and attach it to the zipper as you did on the first side of the zipper.
You can see I've been using up some of my stash zippers. This one is too long, but that is an easy correction. When you sew the top seam, you just cut off the excess. (Make sure your zipper pull is inside your bag, however!!)
 Then, fold the other side in the opposite direction, and attach it to the zipper.
You will end up with two tubes attached to the zipper.
Just pull one inside the other to make your bag more recognizable!

Rather than sewing a partial seam at the top and bottom of the bag, I sew all the way across.
 I then cut squares off the corner.
For the 12x16 piece of fabric called for, I cut 1.5 inch squares from the corners.
This is the easiest way I have found to keep the corners even and straight.

This allows me to realign the the corners by opening up the squares and flattening them to sew.
Try it, it's easier to do than it sounds - really! I wish I were a better descriptor!
From there, I continue on my happy way, following drago[knit]-flys directions.

I just LOVE making these bags!!

I've become quite enamored of these little pencil bags, too! Great tutorial here - Pencil Bag Tutorial
They are really quick to make up, and I was able to get a box bag and a pencil bag out of 2 fat quarters, with a bit left over. Thrifty, eh?


